The 3D Redesign Project Is A Project Where We Take A Simple Object (I.E. A Purse, Toothbrush Holder, etc. ) And Redesign It To Be More Functional.

|
|

|
Similar Products
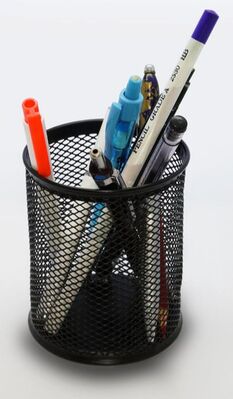
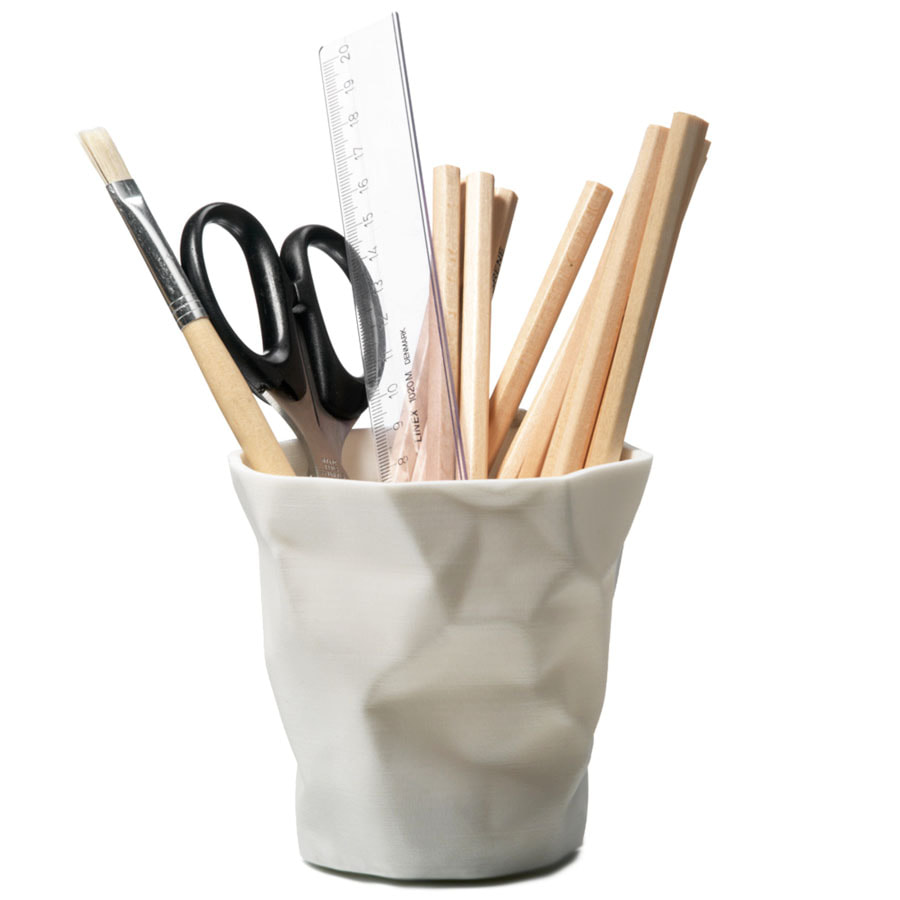
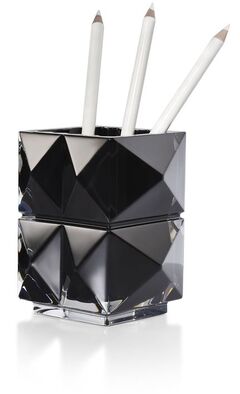
In order to think about how I would make my design, I needed inspiration from some already made products. Here are a few examples:
|
|
|
Sketching/ Initial Concept
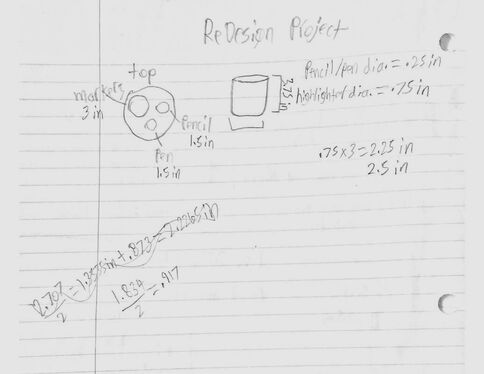
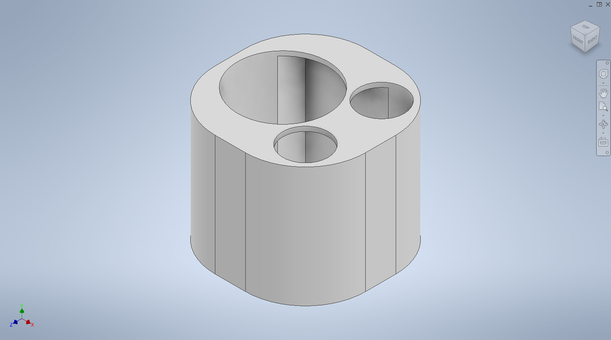
I chose to make a pencil/penholder because before, I just had them sitting around in a cup I found downstairs. Since I do a lot of writing with homework and such (and I couldn't think of anything else), I decided that this would be a useful idea. I then decided that I would design an object with 3 holes: one for pencils, pens, and markers. I also wanted to make it look like a cup design, kind of like in the pictures above.
Inventor
After I was done designing, I went to Inventor to construct the object. Even in Inventor, I had to redesign it again. This just goes to show that redesigning isn't as easy as it may seem.
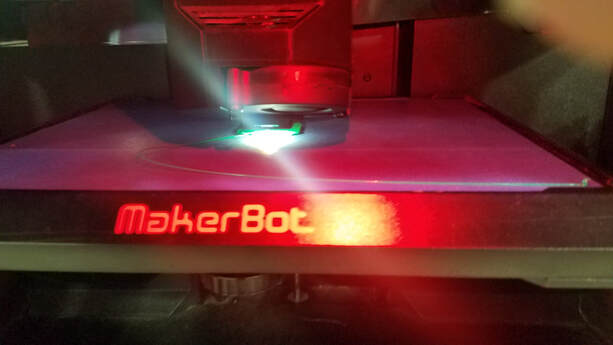
3D Printing
Once I was done ironing out all the bugs and possible design flaws in Inventor, I signed up for a Contact Time in the Innovation Center where I converted it to a makerbot file, uploaded it to the 3D printer, and finally was able to begin 3d-printing it out.
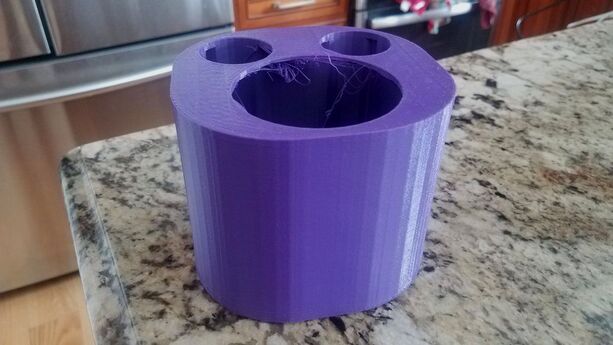
Yes, there are some loose fibers that need to be trimmed up, it didn't exactly print picture-perfect.
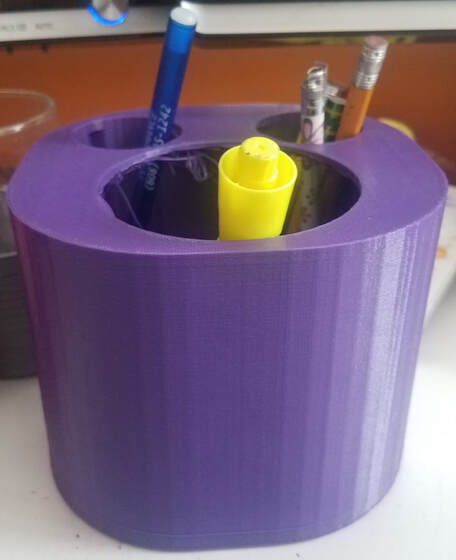
Final Concept
After It Was Done 3D printing, all I had to do was cleanup some broken fibers, remove the baseplate and voila! I now have my own, home-designed, pencil/penholder to store all my writing utensils.
Summary
In Conclusion: I learned how to innovate my surroundings via Inventor and 3D printing to make objects like the one shown above and more. You also need to think more creatively because finding things around you that you think needs improving can prove rather challenging when you see there is nothing wrong, that and also you need to also be creative in-terms of what you want your redesign to look like.
